
In this post, I will show you how to install pfSense as a Virtual Machine (VM) on ESXi 7.0. We will take a look at the hardware setup and the network diagram before we go over the installation process.
➡️If you think this tutorial is helpful, please support my channel by subscribing to my YouTube channel or by using the Amazon/eBay/ClouDNS Affiliated links below (Full Disclaimer). I will get a small commission from your purchase to grow my channel:
🚀 ClouDNS Affiliated: https://www.cloudns.net/aff/id/255803/
🚀 Things I used for my server: https://amzn.to/3hudohP
🚀 Tools I used: https://amzn.to/3uXaSUr
🚀 Devices I used: https://amzn.to/3FYlfxk
🚀 Networking/Cybersecurity/Programming Books: https://amzn.to/3HEYwb0
🚀 TrueNAS HBA SAS controller IT Mode from the Art of Server: https://ebay.us/cBWEvJ
🧧 PayPal Donation: https://www.paypal.com/paypalme/sysadmin102
I run ESXi on the Dell R620 that equipped with Broadcom® 5720 Quad-Port GbE Rack Network Daughter Card (NDC) 1G BASE-T . I purchased an additional PCI-E NIC Dell Intel Ethernet I350 Dual Port 1Gb Server Adapter Low Profile and installed on Dell R620 PCI-E Slot. This will be a dedicated NIC for pfSense VM, which will be operating in passthrough mode in ESXi. Below is the network diagram:

I will use class A address for my LAN subnet 10.13.2.0/23 ( Subnet Mask /23 or 255.255.254.0). When creating a LAN subnet, you should choose a unique numbering that not commonly used as a default subnet on many routers in public places such as 10.0.0.0/24 or 192.168.0.0/24. If you decide to host an OpenVPN server on your pfSense VM, having the same subnet as where you would remotely tunnel into your home network, cross-site IP numbering conflicting is expected. For instance, suppose you use the popular 192.168.0.0/24 as your private LAN subnet. Now you are trying to connect to the VPN from an internet cafe which is using the same subnet for its WiFi LAN. You will have a routing conflict because your machine won’t know if 192.168.0.1 refers to the local WiFi gateway or to the same address on the VPN. I will use my AmpliFi Alien Wifi 6 Wireless Router in Bridge Mode as my Wireless Access Point (WAP).
The first step to create a VM on ESXi is to obtain the OS image (ISO file) from pfSense and upload it to ESXi Datastore. pfSense ISO file can be downloaded from the official site: https://www.pfsense.org/download/. You will select the AMD64 (64 bit) architecture. Netgate ADI is for Netgate Device only such as the SG-5100 Security Gateway or XG-7100 1U Security Gateway.

Before we begin creating the VM, we will toggle passthrough for the Dell Intel Ethernet I350 Dual Port. This will enable us to use the physical adapter with pfSense VM instead of using VM Network Adapter.

Next, we will create a new VM by clicking on Virtual Machine > Create/ Register VM. According to Netgate Documents, pfSense version 2.4.x under lying OS is FreeBSD 11 (64 bit), so we will choose Guest OS family as Other and Guest OS Version as FreeBSD 11 (64 bit).

For the hardware setting, it really depends on the current system that you run your ESXi on and what kind of services you will be running on your pfSense. I’ll leave this to you to decide as you can always go back and change it later on. I will use OpenVPN and traffic filters on my pfSense so 4 CPUs with 16GB of RAM (16GB for Reservation) and 16GB Hard Disk would be more than sufficient to run pfSense. We will remove the USB controller and Network Adapter as we do not need them. The next step is to mount the ISO file. You will click on Host device and select Datastore ISO file and navigate to the location where you upload the ISO file. Lastly, We will add the Dell I350 Ethernet by selecting Add other device > PCI device. We will repeat the same step to add the dual ports to pfSense VM.

Before we power on the VM, we will click on Actions > Autostart > Enable, to ensure that the VM will automatically start everything ESXi rebooting.

After you power on the machine, just follow on screen instruction to install pfSense. Once the VM rebooted, we will assign the interface for WAN/LAN

We will not be setting up VLAN, this can be done later using the webConfigurator. Response N for “No” when prompted. We will use auto detection to assign WAN/LAN. pfSense will assign the interface with link status “UP” as WAN. You can repeat the same step to assign LAN or choose the remain interface as LAN.
Next, we will set the interface IP address to our unique LAN subnet 10.13.2.0/23 by selecting option 2 and interface 2 for LAN. I will enter 10.13.2.1/23 when prompted for IPv4 address. We will skip IPv6 as it can be config later on webConfigurator. We will Enable DHCP Server on LAN. The IP range will be 10.13.2.0 -10.13.2.199.

Once pfSense reload, we will be able to access the webConfiguration @ http://10.13.2.1/. The default login user name is admin and the password is pfsense. pfSense setup wizard will guide you through the initial configuration of pfSense.

You can change the Hostname/Domain or keep it as default. You can choose which DNS server to use or keep default setting and received the DNS server from your ISP.

Step 3 is setting up Time server hostname and Timezone. You can change it to the time server that you refer or keep it as default. Select the correct Time Zone for your area. You can skip Step 4 as most of us have DHCP as default for WAN setting. Step 5, you can change the LAN subnet or keep it as the one we have previously set. Step 6 is to change the Admin password. Step 7 is to reload pfSense with new changes.
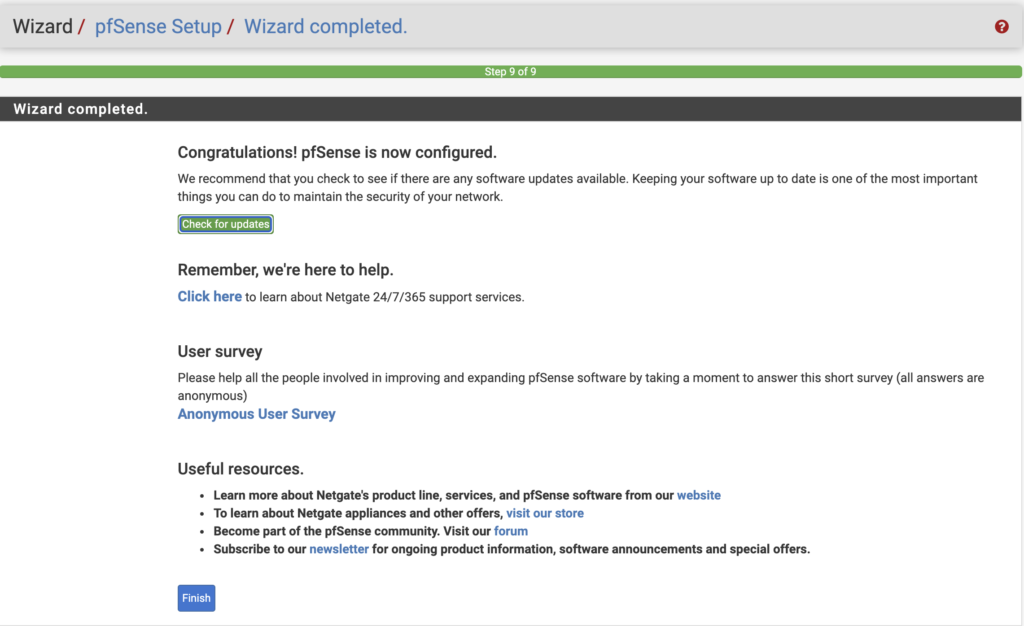
Congratulation! You have successfully configured pfSense router.
Excellent article on ESXi and PfSense.We’ve just upgraded to the latest ESXI 7 and PfSense 2.5 and things are running without a hitch. In your example, the ram and CPU given to the system may be a bit too much, we only have 3 GB allocated to our system. The ESXI datastore on ours is sitting on an NVME SSD and it handles VPN’s etc. flawlessly.
16GB is not too much if you use it for package inspection, Snort, Suricata, etc. It also depends on your network traffic too.