
In this tutorial, I will show you how to obtain an SSL Certificate for your Nextcloud plugin on TrueNAS using Certbot. This is a very detailed tutorial, so it’s lengthy. Please don’t skip the step unless you know what you doing. You have been warned!

➡️If you think this tutorial is helpful, please support my channel by subscribing to my YouTube channel or by using the Amazon/eBay/ClouDNS Affiliated links below (Full Disclaimer). I will get a small commission from your purchase to grow my channel:
🚀 ClouDNS Affiliated: https://www.cloudns.net/aff/id/255803/
🚀 Things I used for my server: https://amzn.to/3hudohP
🚀 Tools I used: https://amzn.to/3uXaSUr
🚀 Devices I used: https://amzn.to/3FYlfxk
🚀 Networking/Cybersecurity/Programming Books: https://amzn.to/3HEYwb0
🚀 TrueNAS HBA SAS controller IT Mode from the Art of Server: https://ebay.us/cBWEvJ
🧧 PayPal Donation: https://www.paypal.com/paypalme/sysadmin102
Here is the video version for this tutorial, if you don’t like reading 🙂
Before you can request SSL Certificates from Let’s Encrypt, you will need to have a DDNS or subdomain in place. If you don’t know how to, you can follow my tutorial or any tutorials available on the Internet (this is why I love the Open-source community. We share everything #Opensource). You will also need to set up Port Forwarding so that the Let’s Encrypt server can reach your Nextcloud jail and Nextcloud is accessible from outside of your LAN network. There are plenty of tutorials on this, so I won’t go over Port Forwarding or DDNS.
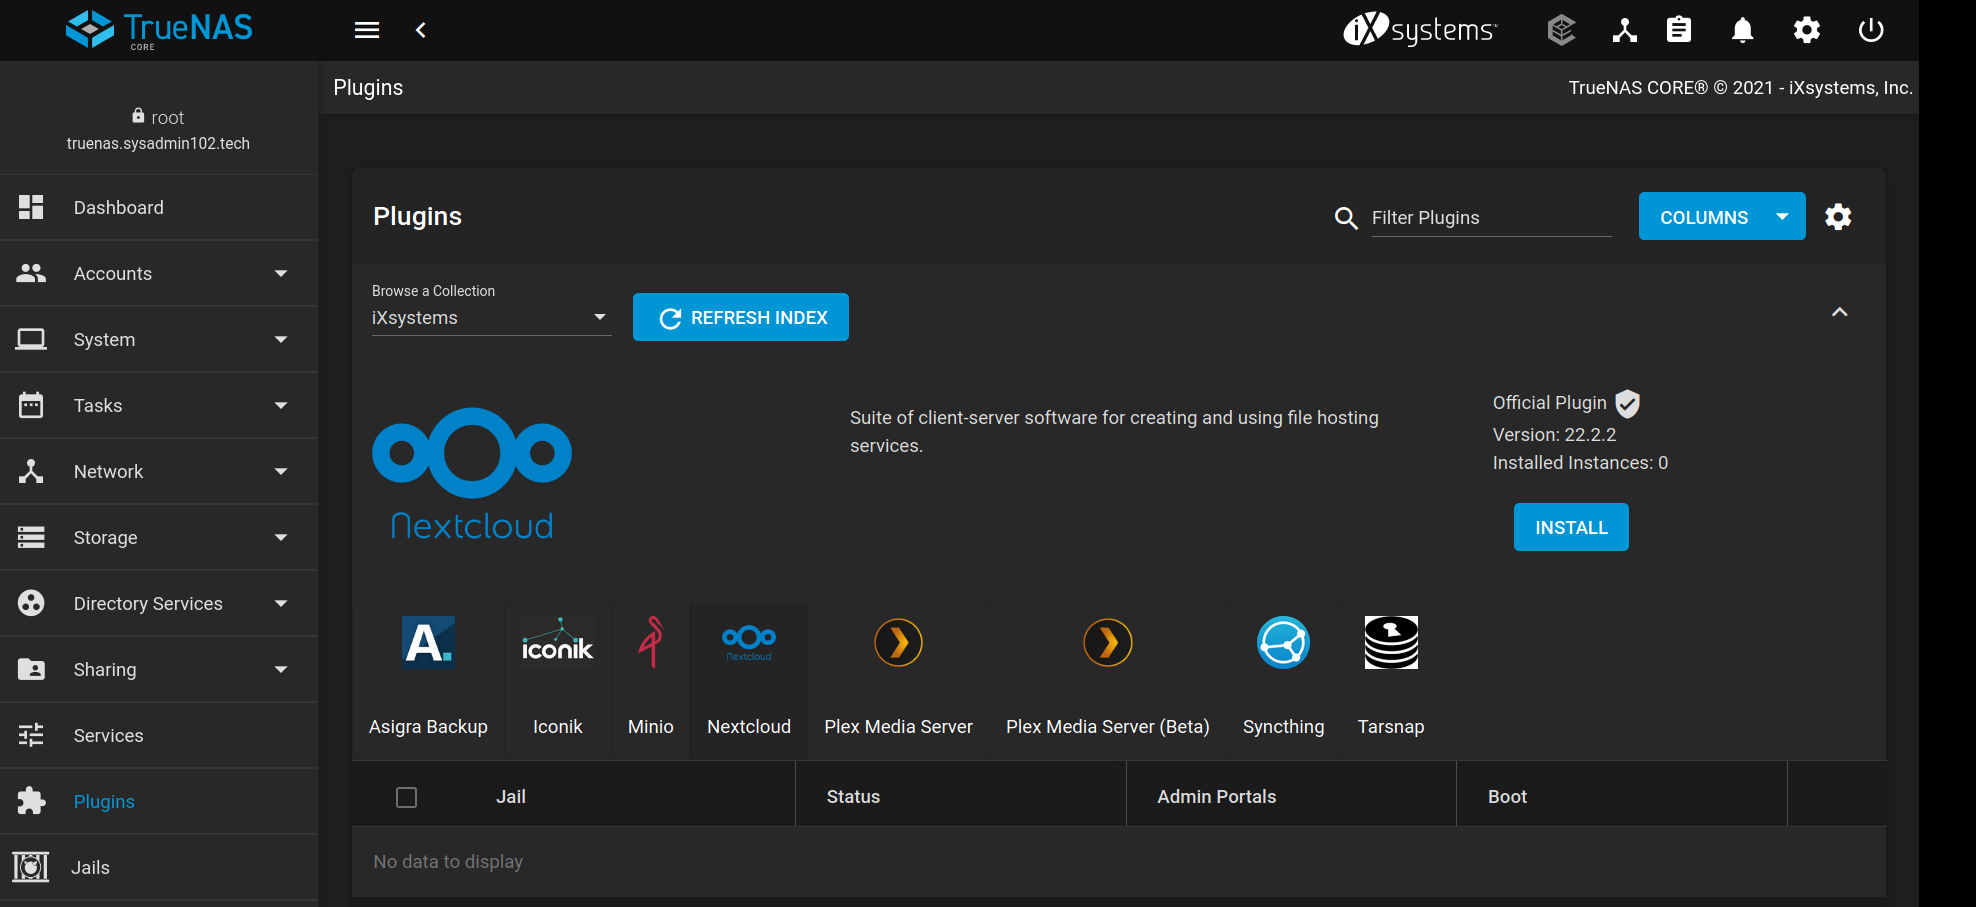
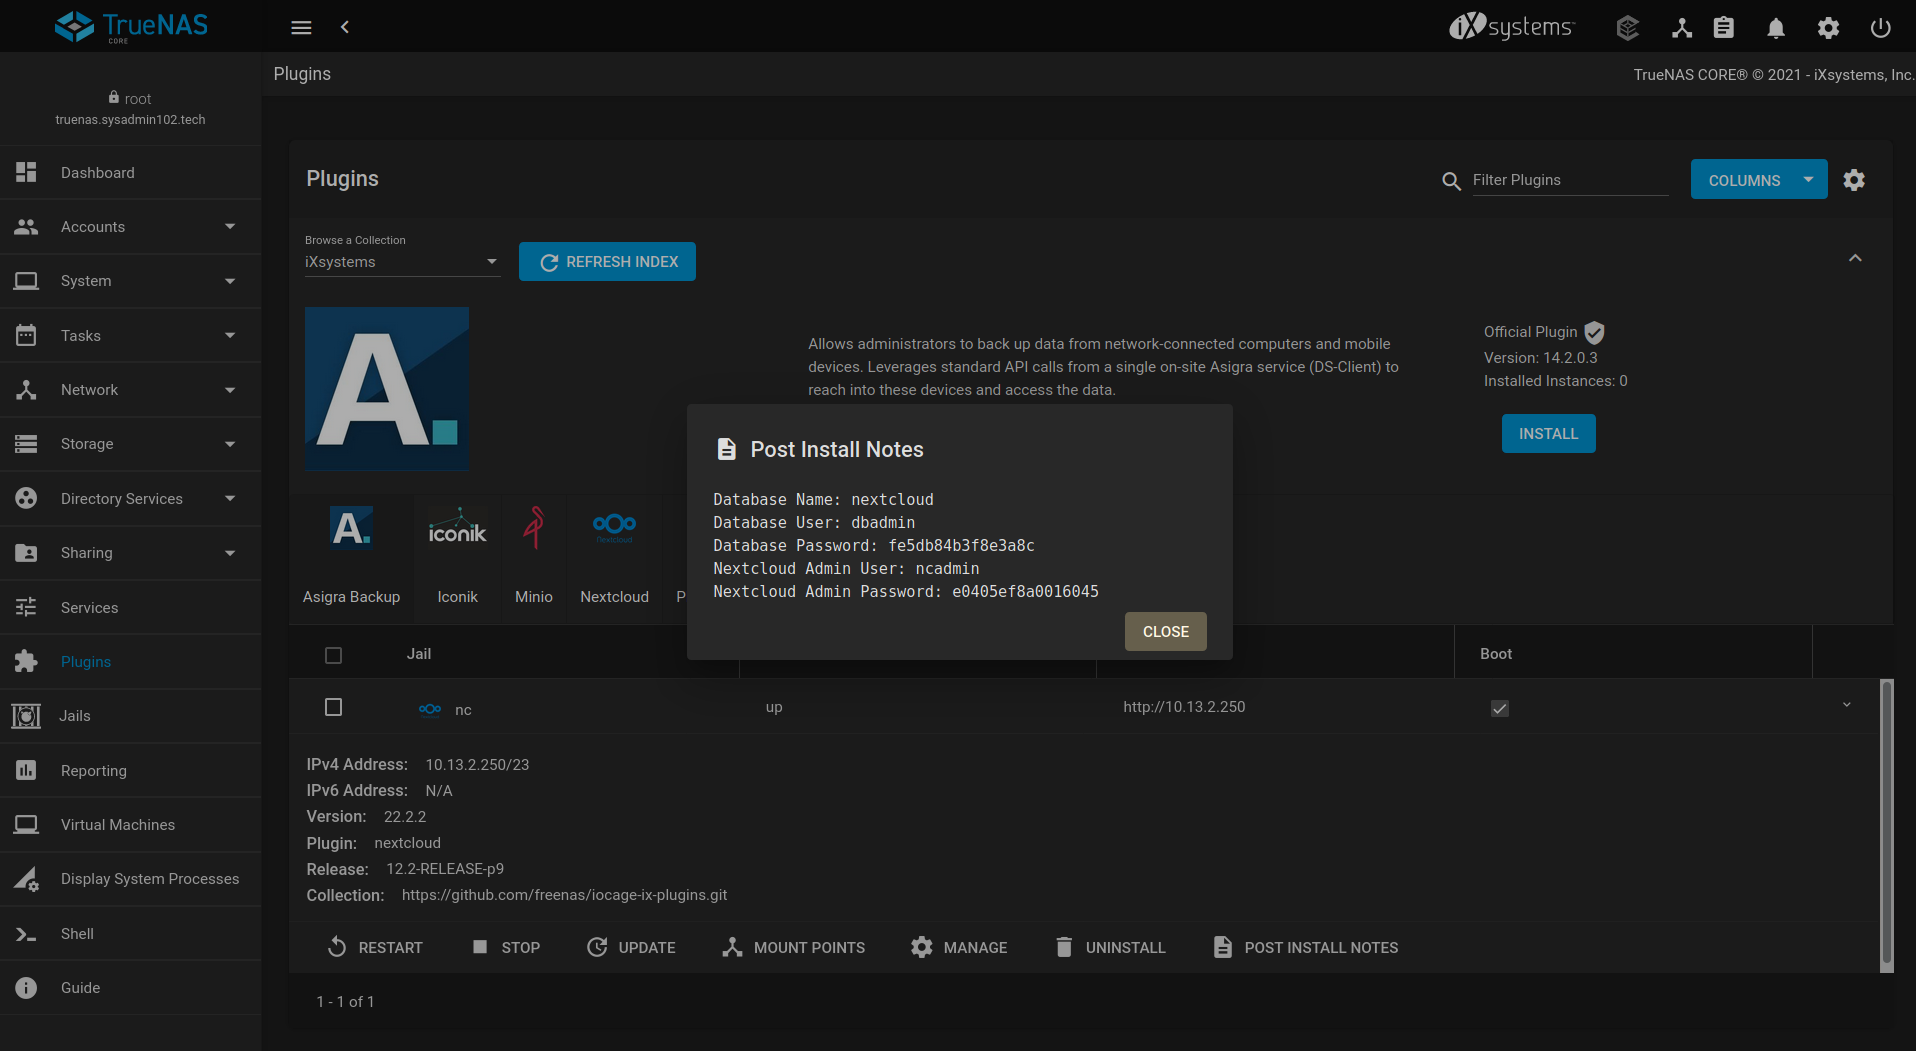
The first step is to install Nextcloud from the Offical plugins on TrueNAS:
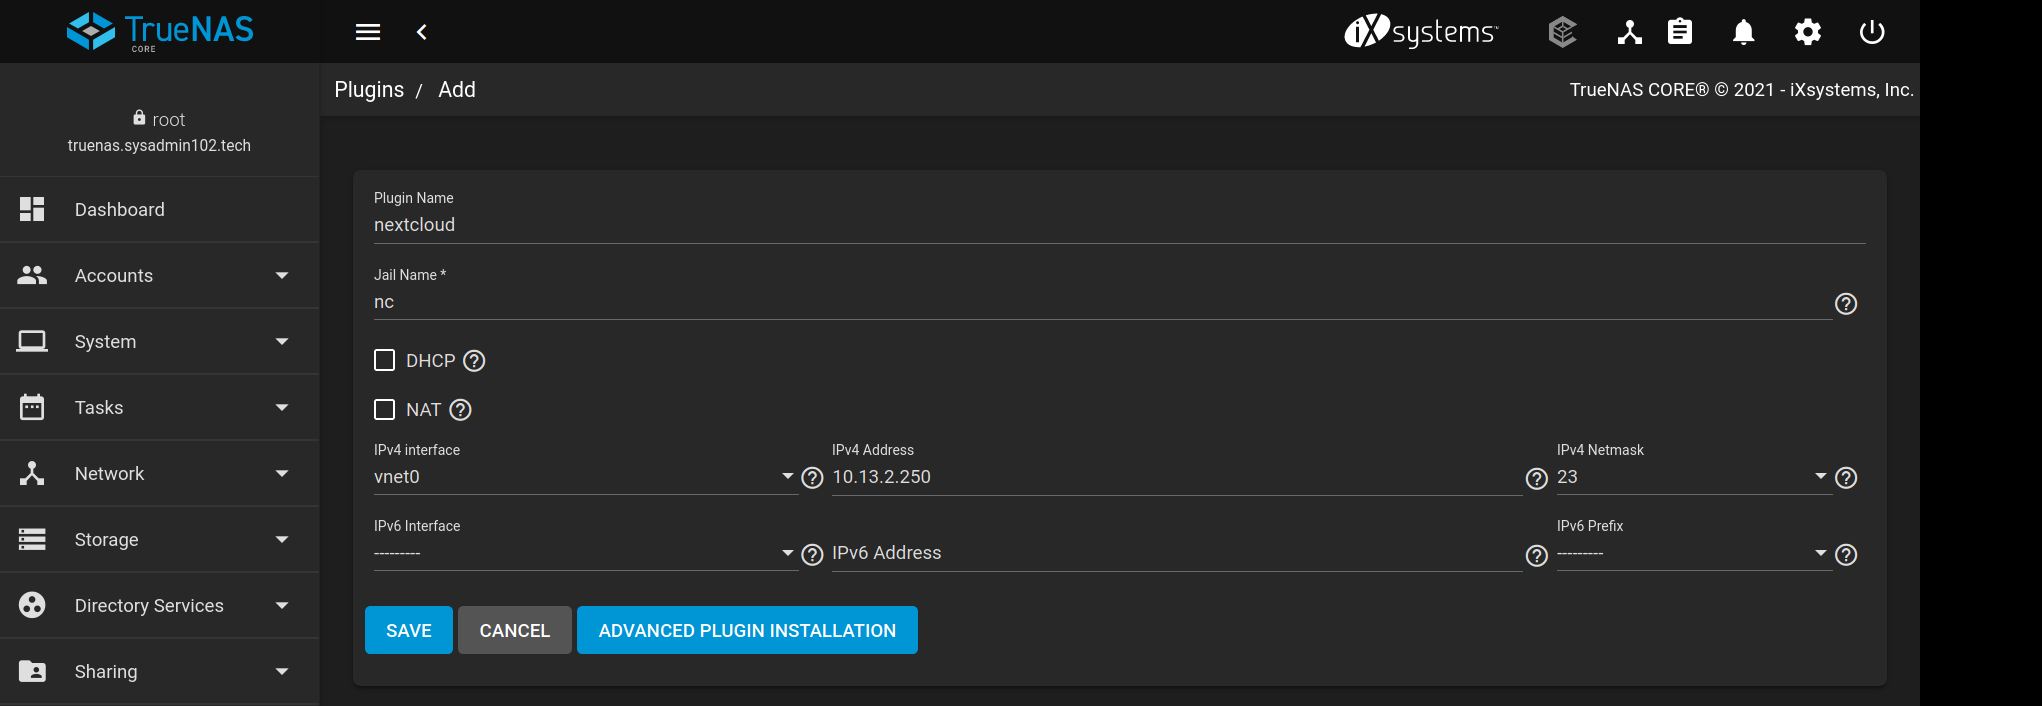
We will use static IP as we want the IP remains the same for our Nextcloud server. Save the setting after you provide the Jail Name, select IPv4 Interface, provide the IPv4 Address and IPv4 Network Subnet Mask.
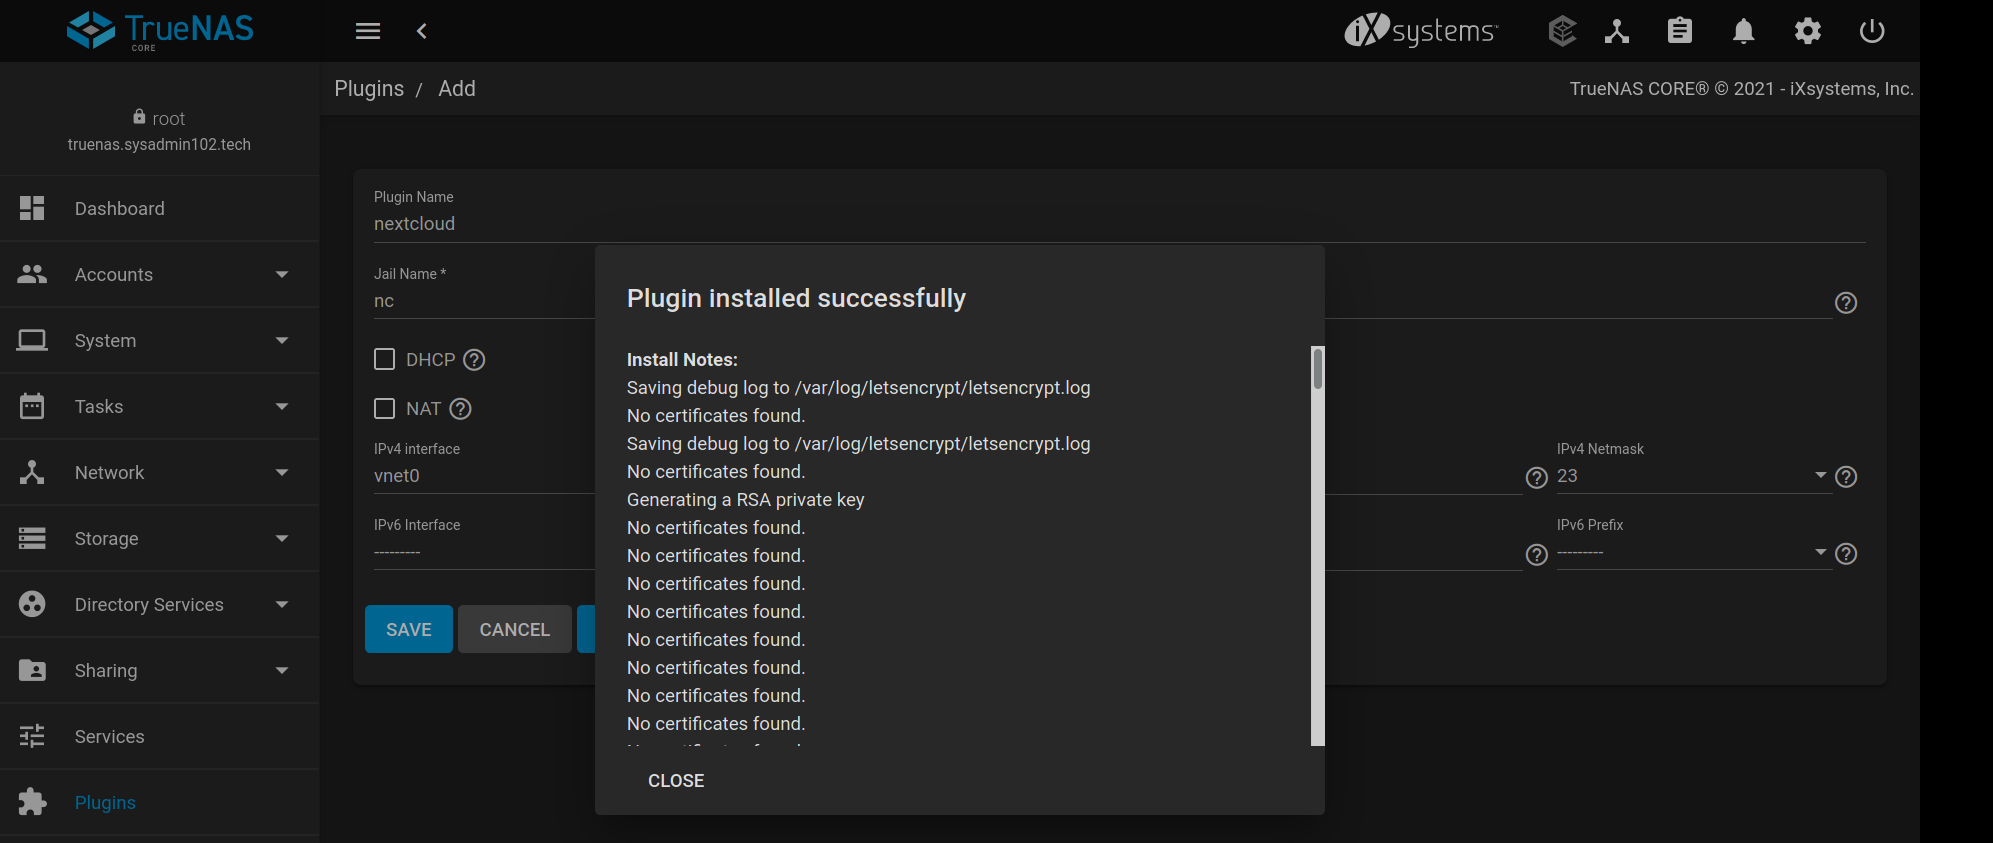
Once the installation complete, you can close the Install Notes.
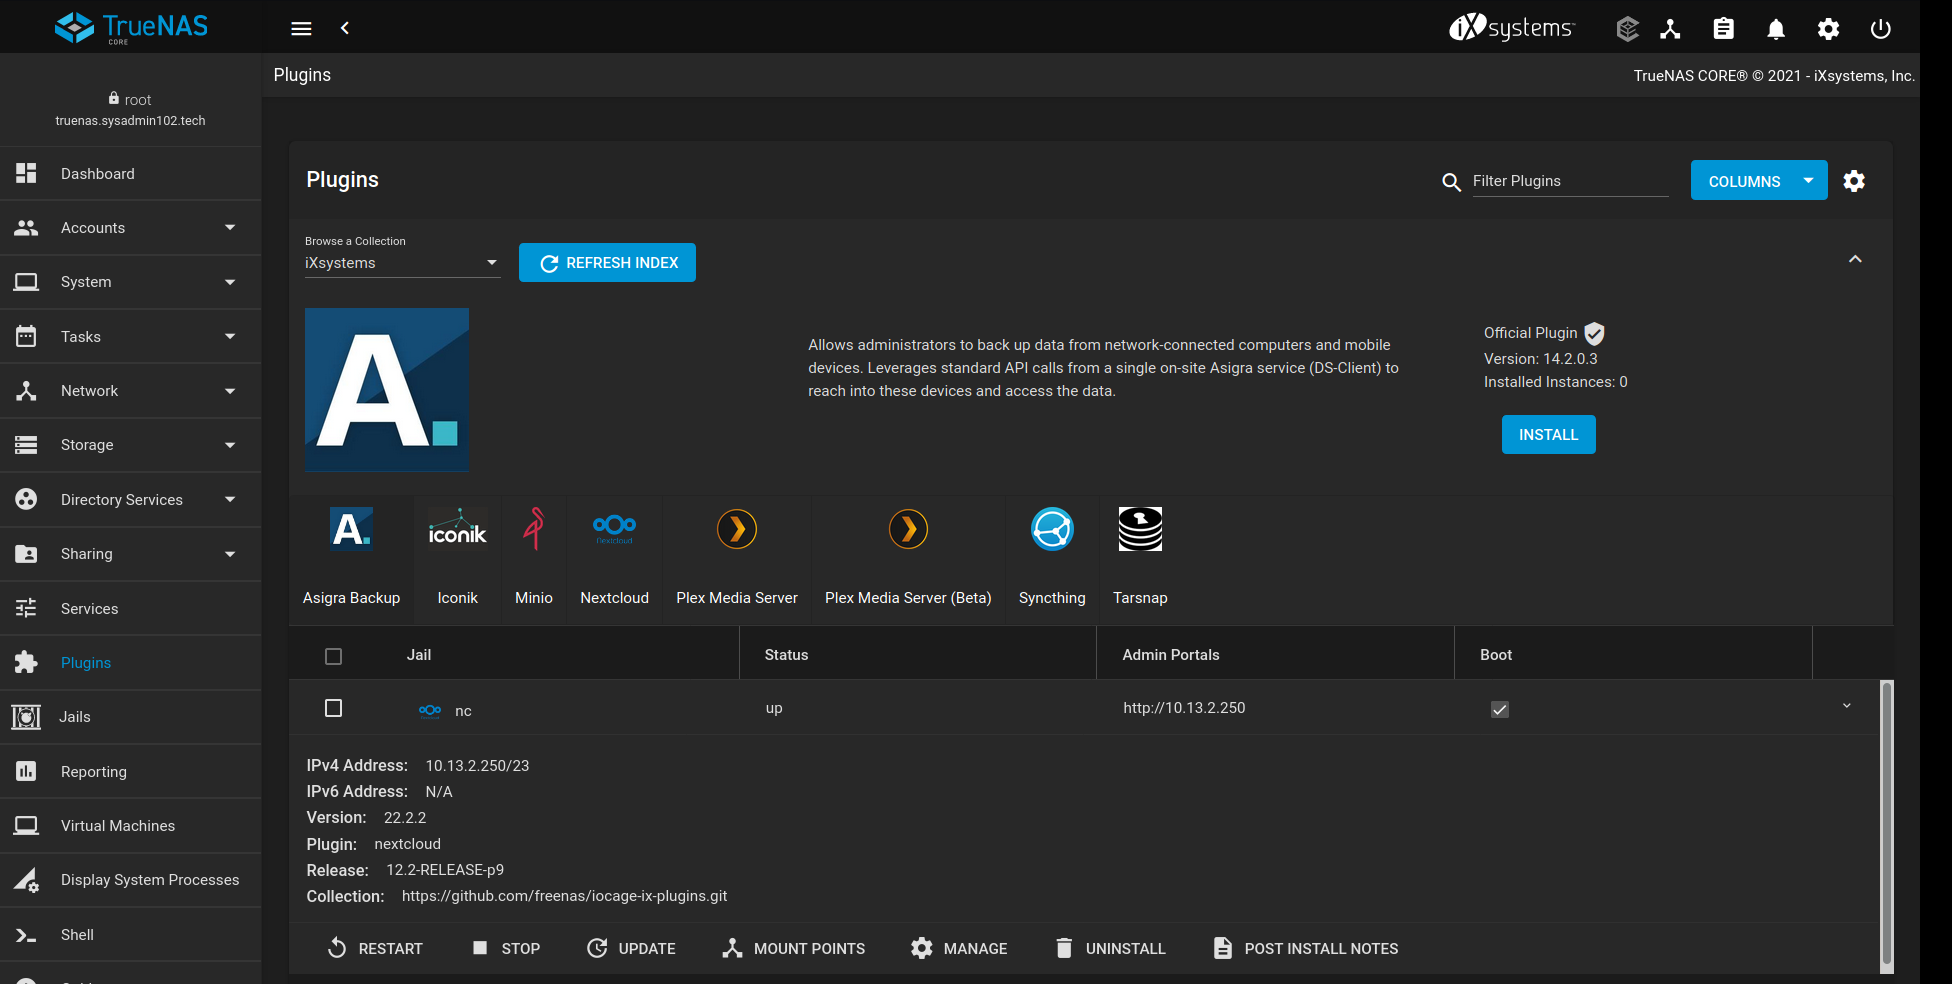
Access the Admin portal by copying and pasting the address to your web browser or clicking on the MANAGE button.
You may get a “Warning from your browser as Nextcloud is using a self-signed certificate.” For most browsers, you can select Advanced, accept the risk and continue
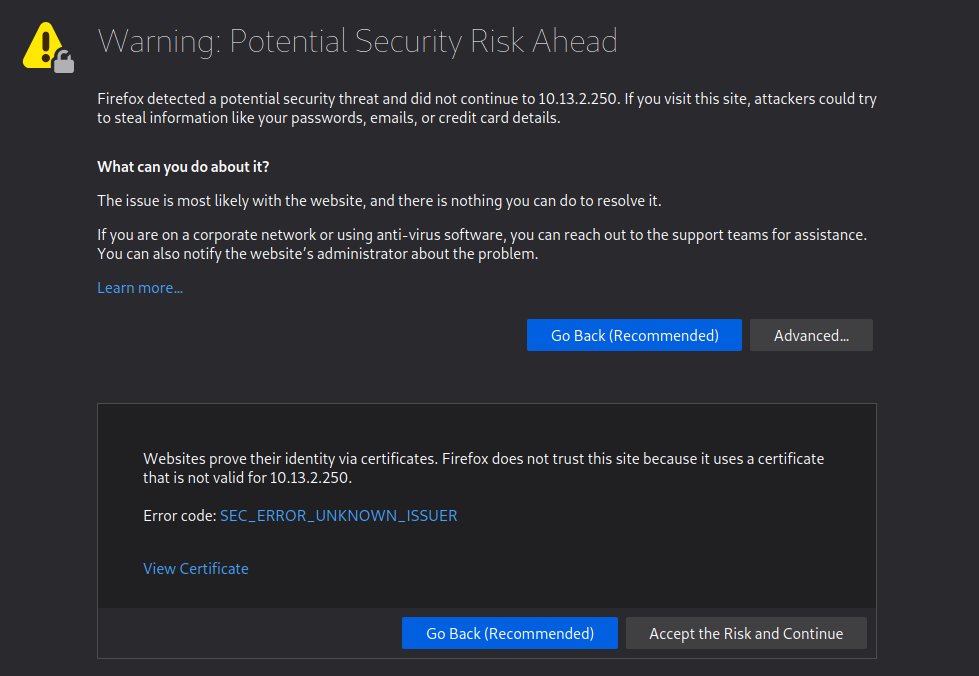
In early October 2021, TrueNAS announced a partnership with Nextcloud to provide an officially supported integration with TrueNAS. The plugin installation scripts now install Cerrbot and automatically generate a self-signed certificate for HTTPS straight out of the box.

Depending on your network setting and as well as the platform you run TrueNAS on, you may get the error Access through an untrusted domain. This is an easy fix. You will need to establish an SSH connection to TrueNAS jail to modify the config.php file. Follow the video below if you are having trouble accessing Nextcloud jail via SSH:
To access TrueNAS Jail, use the below command, followed by your jail’s name. In this tutorial, nc is the name for my Nextcloud jail.
iocage console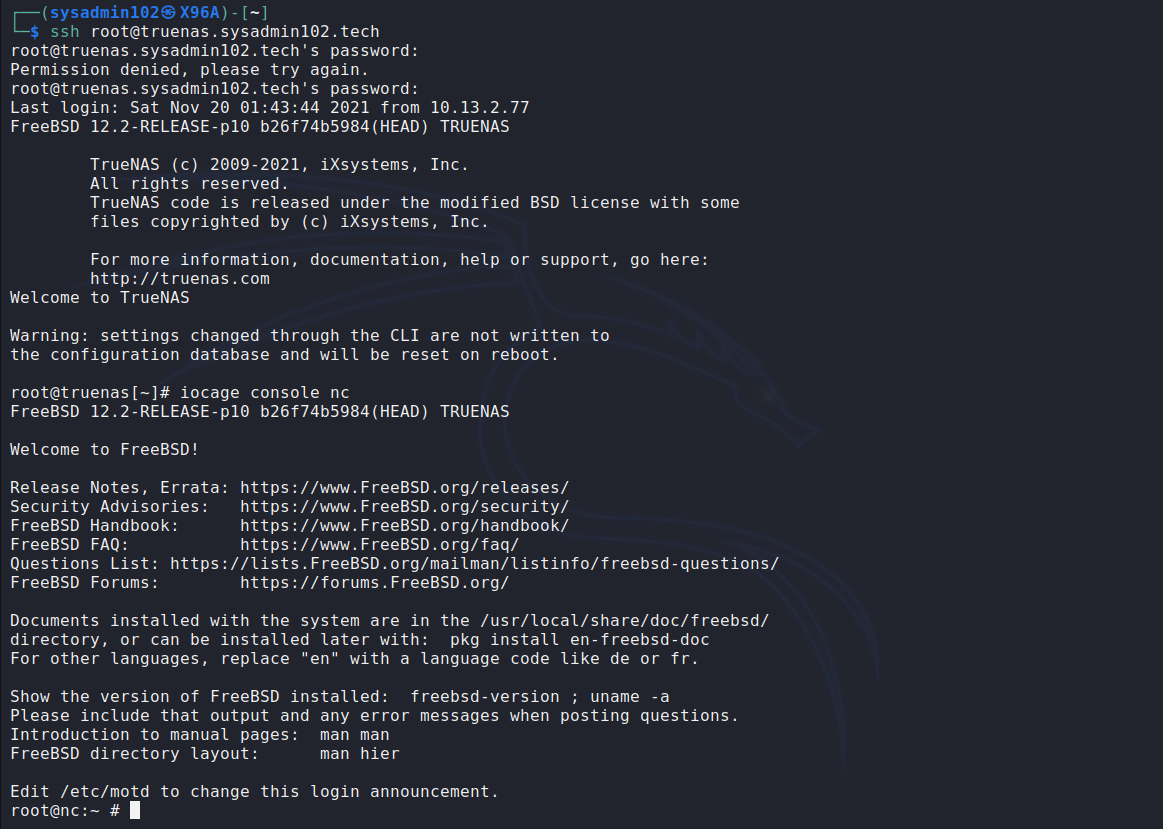
Easy Editor is a text editor that comes preinstalled on FreeBSD. However, you can you vim, vi, or nano; whatever will get the job done. It’s a good practice to make a copy of the original config file before making any changes. If you make a mistake, at least you still have a copy of the original file.
Use the command below to make a copy of your config.php:
cp /usr/local/www/nextcloud/config/config.php /usr/local/www/nextcloud/config/original_config.php
Now, we can edit config.php file using Easy Editor (ee):
ee /usr/local/www/nextcloud/config/config.phpNavigate up or down, left or right by using the arrow key until you find ‘trusted_domains’ block. Using the same format, add or edit your IPv4 address to match your Nextcloud IPv4 address. If you already had a Fully Qualified Domain Name (FQDN), you can also add it here. If not, you can come back add it once you acquire one.

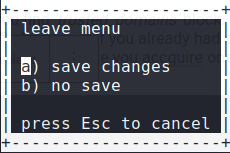
Once you finish editing the config.php, Press Esc key to return to the main menu. Press Enter or a key to leave the editor and save changes.

You can now access your Nexcloud login page:
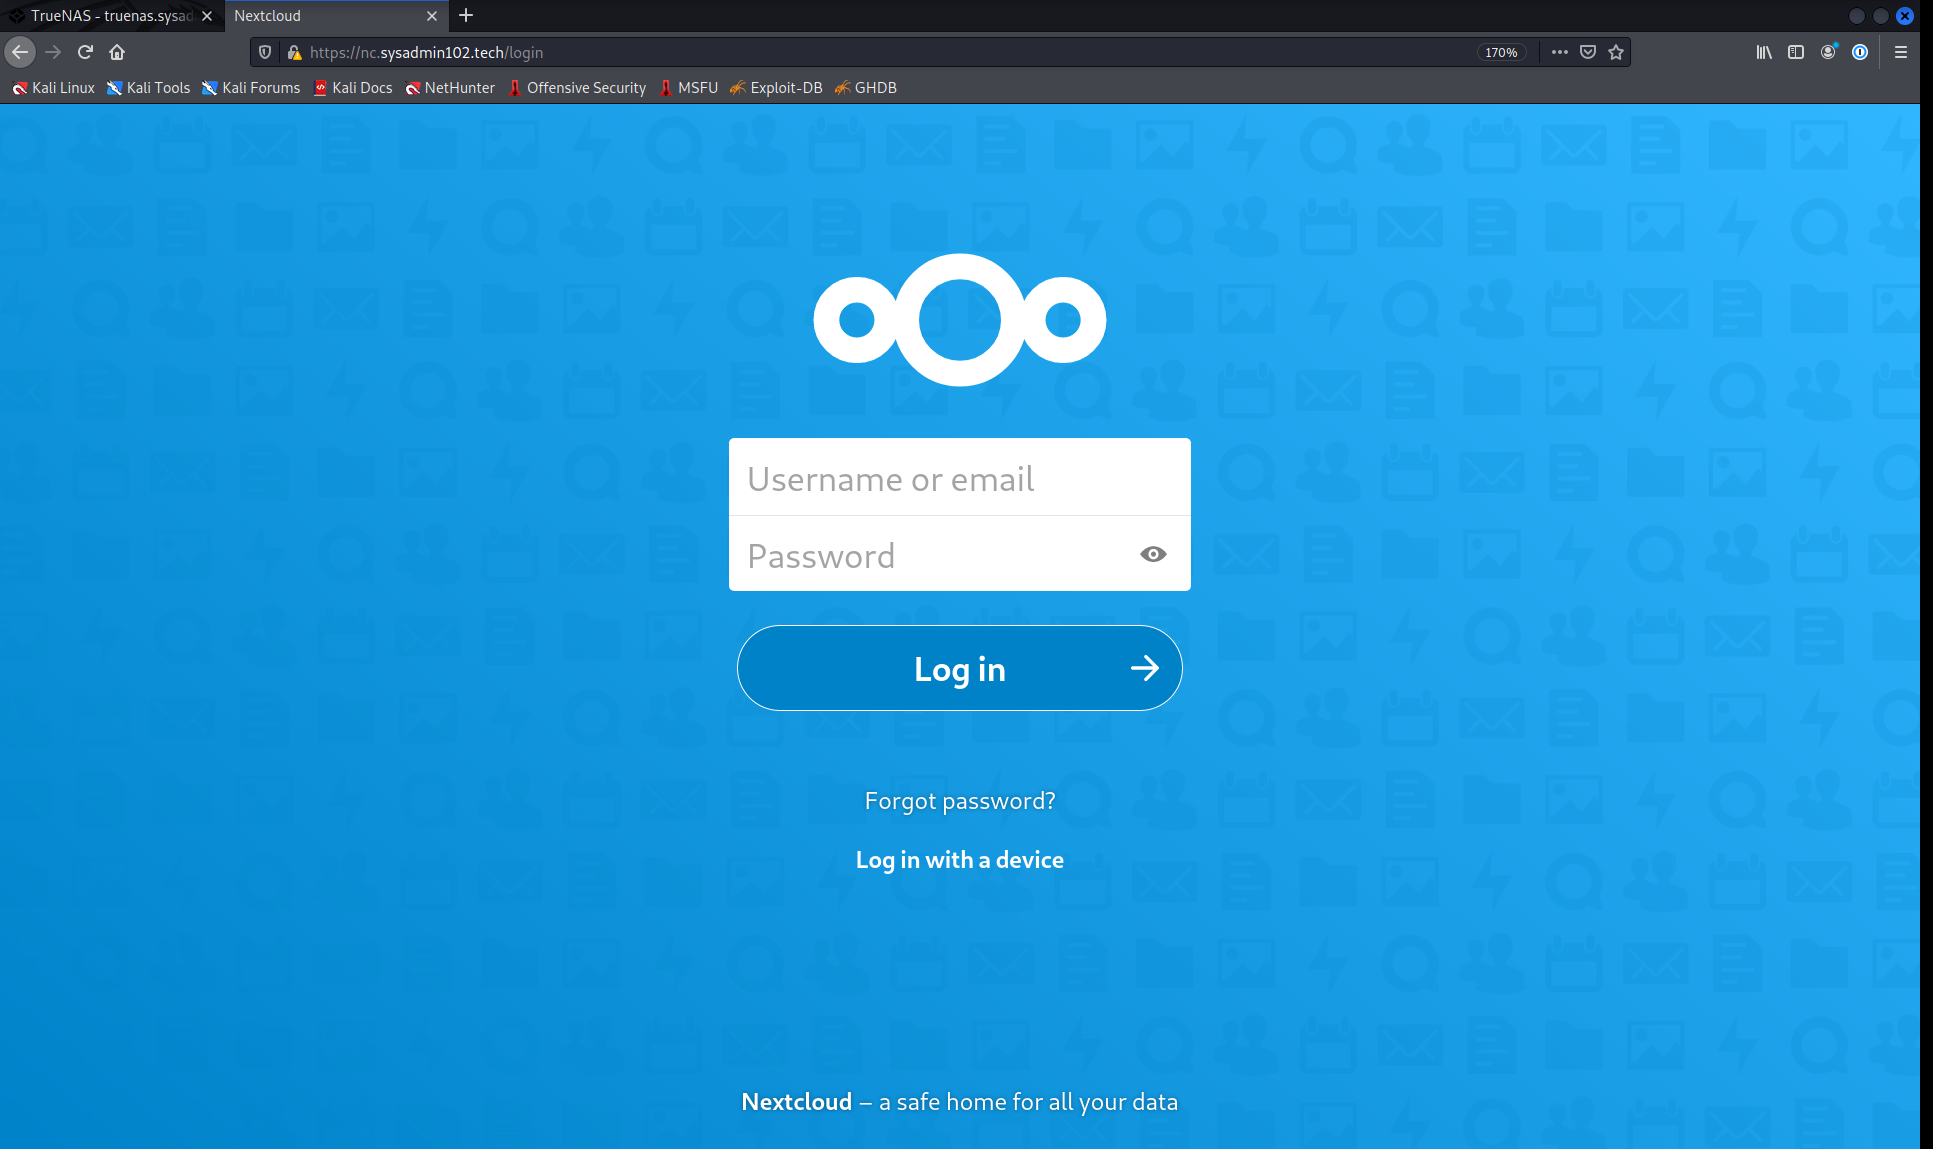
Log in using the user name and password provided under the Post Install Notes. As good security practice, you change the Admin default User/Password once you log on. However, we will skip this step and come back to this later on after we obtain the SSL certificate from Let’s Encrypt.
As I mentioned, Certbot is preinstalled in Nexcloud jail. However, it would make things a lot smoother if whoever maintaining the plugin added the nginx plugin for Certbot. I have modified the command to better suit Jail environment, but all credits go to the original author Mark Drake @ DigitalOcean. https://www.digitalocean.com/community/tutorials/how-to-secure-nginx-letsencrypt-freebsd
To begin, fetch a compressed snapshot of the ports tree:
portsnap fetchIt may take a few minutes for this command to complete. When it finishes, extract the snapshot:
portsnap extractIt may take a while, so you can relax and get a cup of tea or coffee. I prefer tea, as for some odd reasons, coffee makes me fall asleep (no kidding ;).
Next, navigate to the py-certbot-nginx directory within the ports tree:
cd /usr/ports/security/py-certbot-nginxRun the make command from this directory. This will install the nginx plugin for Certbot which we’ll use to obtain the SSL certificates:
make install cleanDuring this plugin’s installation, you will see a couple of blue dialog windows pop up that looks like this:
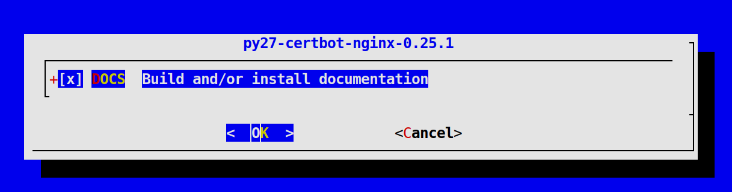
These give you the option to install documentation for the plugin and its dependencies. For the purposes of this tutorial, you can just press Enter to accept the default options in these windows which will install this documentation.
Again, this tutorial assumed that your firewall/router/port forwarding/DDNS settings were already configured and allowed port 443 to reach your Nextcloud jail. If you’ve already set them up, you can move forward to the next step.
Certbot provides a variety of ways to obtain SSL certificates through various plugins. The nginx plugin will take care of reconfiguring Nginx and reloading the config file:
certbot --nginx -d example.comEnter an email address (used for urgent renewal and security notices).

Accept Terms of Service and Decline to share your email (it’s up to you if you want to share your email).

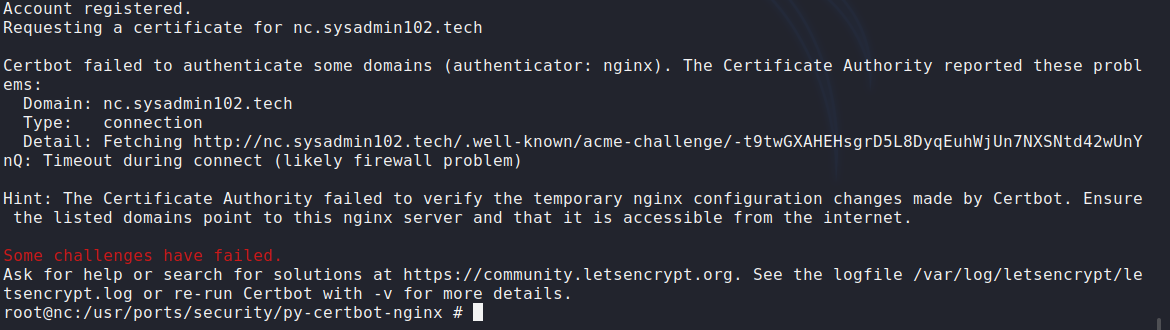
If you received the below error, check your network setting (Firewall/Port Forwarding/DDNS) to make sure port 80/443 is accessible from Nextcloud jail and from outside your LAN network.
If you have done everything correctly, your certificates are now downloaded, installed, and configured.

Let’s Encrypt’s certificates are only valid for ninety days. This is to encourage users to automate their certificate renewal process. This step describes how to automate certificate renewal by setting up a cron task. Before setting up this automatic renewal though, it’s important to test that you’re able to renew certificates correctly.
To test the renewal process, you can do a dry run with Certbot:
certbot renew --dry-run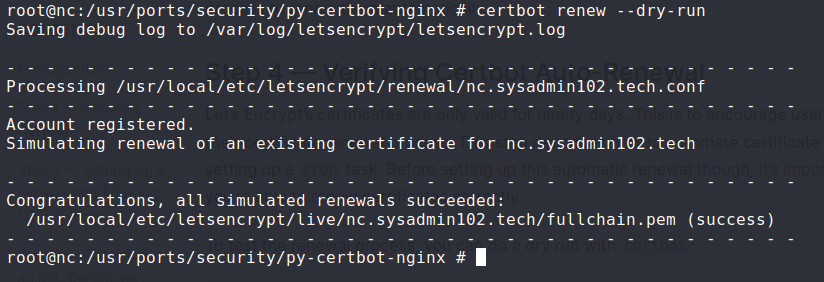
If you see no errors, you’re all set to create a new crontab:
crontab -eThis will open a new crontab file. This is a vi text editor, press I to enter insert mode and navigate to the end of renew_certificates. Press Enter and add the following content to the new file, which will tell cron to run the certbot renew command twice every day at noon and midnight. certbot renew checks whether any certificates on the system are close to expiring and will attempt to renew them when necessary:
0 0,12 * * * /usr/local/bin/certbot renew
Press Esc to terminate the insert mode. Press Shift + ZZ to save the file and quit.
If the automated renewal process ever fails, Let’s Encrypt will send a message to the email you specified, warning you when your certificate is about to expire.
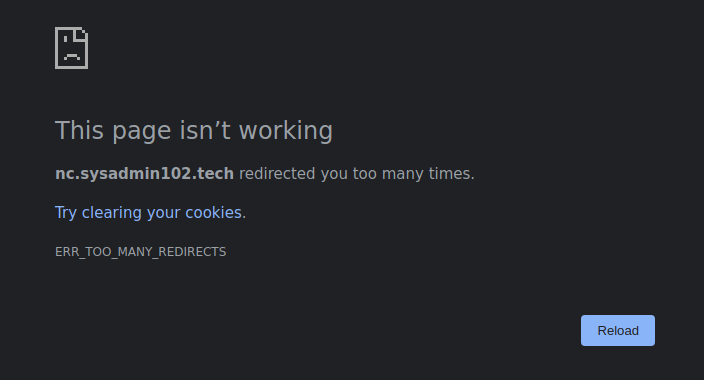
We are not done yet! If you try to access your Nextcloud using FQDN, you will receive “ERR_TOO_MANY_REDIRECTS” message. That is because Certbot automatically added server settings to your config file. Don’t panic yet, we will fix it!
Your certificate is saved at:
/usr/local/etc/letsencrypt/live/example.com/fullchain.pem
Key is saved at:
/usr/local/etc/letsencrypt/live/example.com/privkey.pemTrusted certificate is saved at:
/usr/local/etc/letsencrypt/live/example.com/chain.pemOpen your nginx.config file using the below command:
ee /usr/local/etc/nginx/nginx.confChange the path to the letencrypt folder where your certificate, key, and trusted certificate are saved.
*Hint: you only need to replace truenas with your example.com.

You will have something similar to the below screenshot:

Test the changes by restarting the nginx service:
service nginx restart
At this point, you shouldn’t be able to access your Nextcloud yet when you try to refresh your browser. Changing nginx.config file required a restart of Nextcloud jail to take effect.

Refresh your browser after you restart Nextcloud jail. If you have done everything correctly, you should be able to access your Nextcloud login portal at this point:
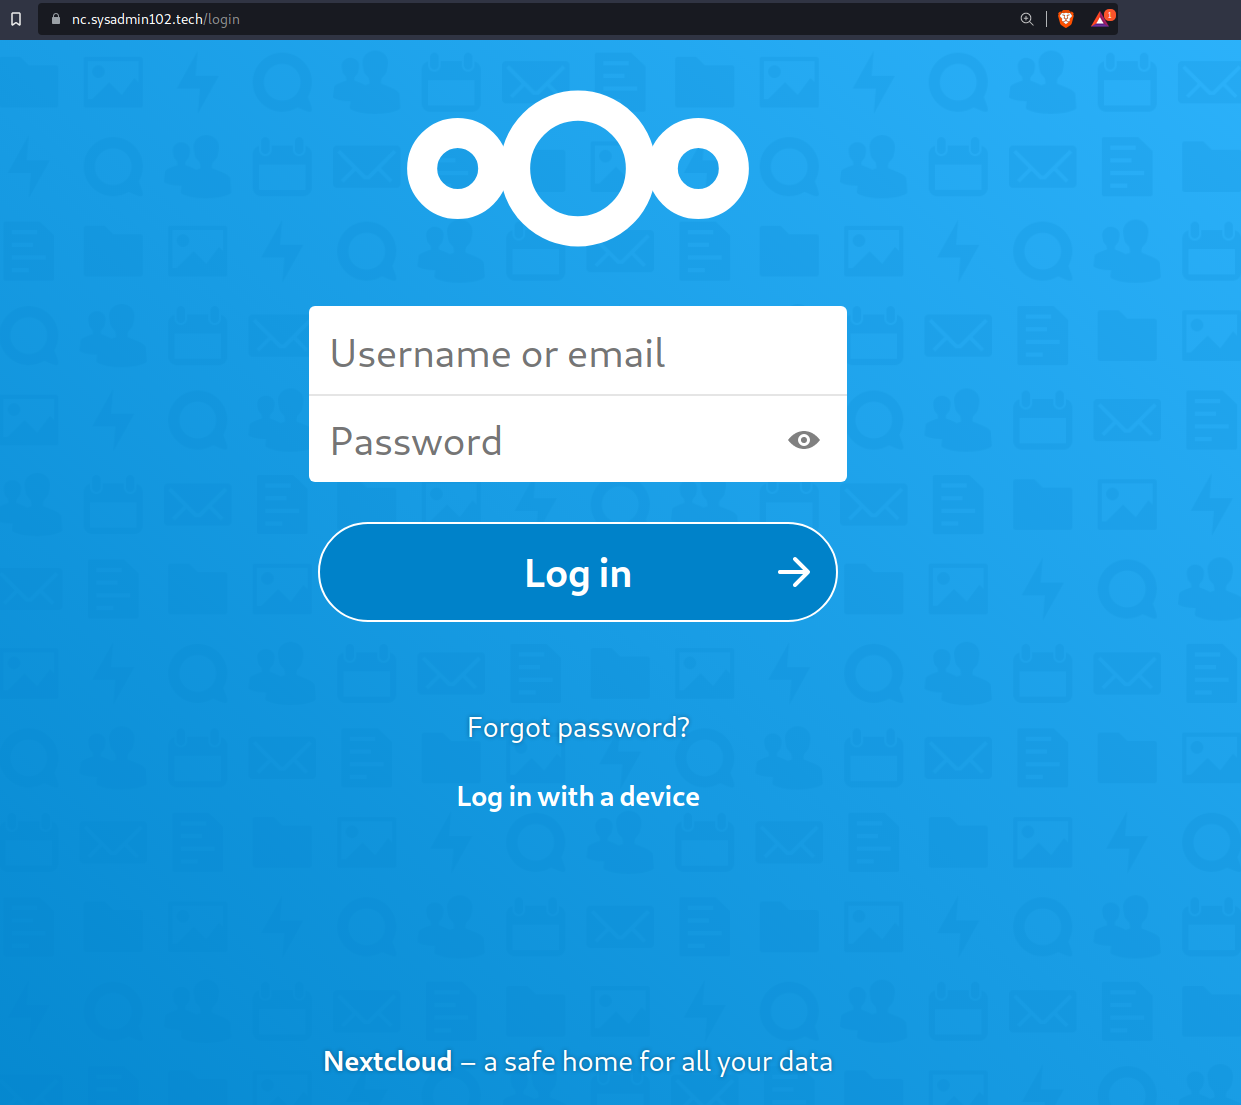
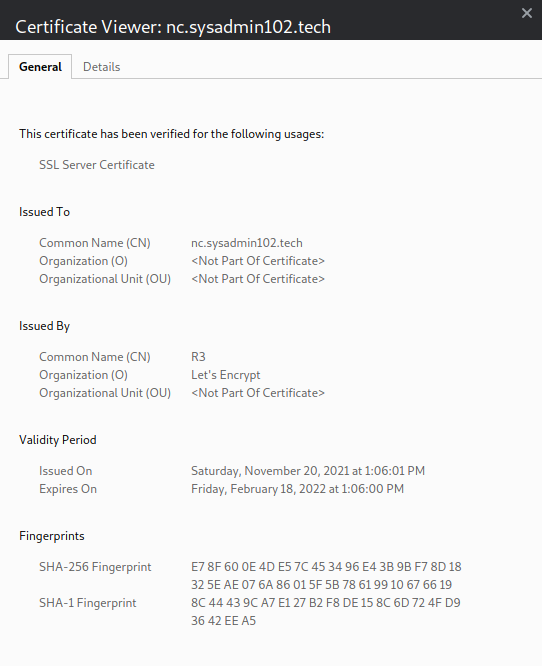
Notice the SSL icon is no longer red because your server is now using a certificate issued by Let’s Encrypt:
Congratulation! You have successfully installed and obtained an SSL certificate for your Nextcloud server. You can follow this tutorial to enable 2 Factor Authentication (2FA) to add another security layer.
Again, special thanks to Mark Drake @ DigitalOcean.
If you think the tutorial is helpful, don’t forget to subscribe to my social media channel. If you link my tutorial to another site, please at least give proper credit; everyone seems to steal others’ ideas now a day :(.
And remember:
while(!(succeed = try()))
Many thanks for this detailed blog.
I tried step by step but stuck at below…i am using Truenas 13.
Can you please help?
root@truenas[~]# cd /usr/ports/security/py-certbot-nginx
root@truenas[/usr/ports/security/py-certbot-nginx]# make install clean
make: “/usr/ports/Mk/bsd.port.mk” line 1175: Unable to determine OS version. Ei ther define OSVERSION, install /usr/include/sys/param.h or define SRC_BASE.
try to use pkg install instead:
pkg install security/py-certbot-nginxpkg install py38-certbot-nginxPlease note the below responses for both commands. 🙁
root@truenas[/usr/ports/security/py-certbot-nginx]# pkg install security/py-certbot-nginxUpdating local repository catalogue…pkg: file:///usr/ports/packages/meta.txz: No such file or directoryrepository local has no meta file, using default settingspkg: file:///usr/ports/packages/packagesite.pkg: No such file or directorypkg: file:///usr/ports/packages/packagesite.txz: No such file or directoryUnable to update repository localError updating repositories!root@truenas[/usr/ports/security/py-certbot-nginx]#
pkg: file:///usr/ports/packages/meta.txz: No such file or directoryrepository local has no meta file, using default settingspkg: file:///usr/ports/packages/packagesite.pkg: No such file or directorypkg: file:///usr/ports/packages/packagesite.txz: No such file or directoryUnable to update repository localError updating repositories!root@truenas[/usr/ports/security/py-certbot-nginx]#
https://forums.ghostbsd.org/viewtopic.php?f=69&t=1475&p=10560#p10560
I found this thread with a solution to this issue but cannot find the commands to make this work.
I found out that the issue was related to my TrueNAS, I was trying to telnet to my Truenas instead I tried shell within the Truenas nextcloud jail and it worked.
Now I am at the port mapping section as my router… will update soon…thanks for your tutorial
Hello,
I’m stuck on “ERR_TOO_MANY_REDIRECTS“.
I followed all the steps. I’ve formatted and reinstalled TrueNas and Nextcloud but it’s still the same. I’m using HyperV, could this be the problem?
It’s strange because, right at the beginning when I configure the ‘trusted_domains’ it works (although without a certificate), but then in the course of the process until the end it stops working and displays the msg “ERR_TOO_MANY_REDIRECTS”
Thanks
check your config file for nginx and nexcloud. You are stuck in a redirect loop.